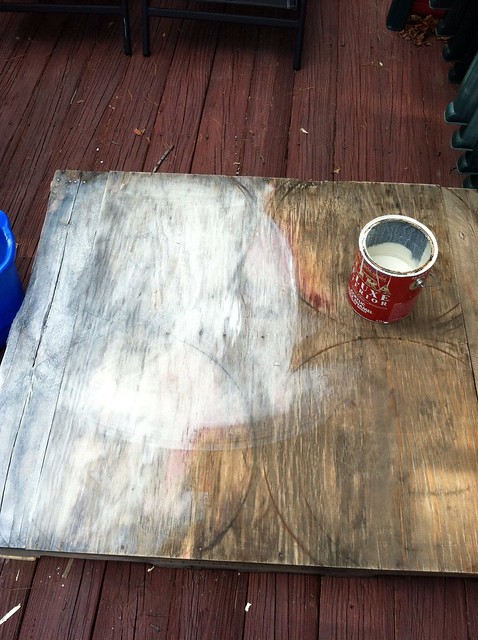
The before:

Notice there are two pallets. I worked with the darker - and flatter - pallet first. I sanded all day but still wasn't able to get it perfectly smooth. A sand machine would have been nice, but oh well. I then applied a couple coats of watered-down white paint (I didn't want it completely white).
Once the paint dried, I added several coats of polyurethane. Then we attached a little height with more scrap wood. We used liquid nails and screws for this step.

Next we put on the wheels. Wheels were optional but we thought completely necessary because the weight of the table is quite heavy. We purchased 4" wheels (with brakes).

The wheels were the last to go on. Here is the end result:

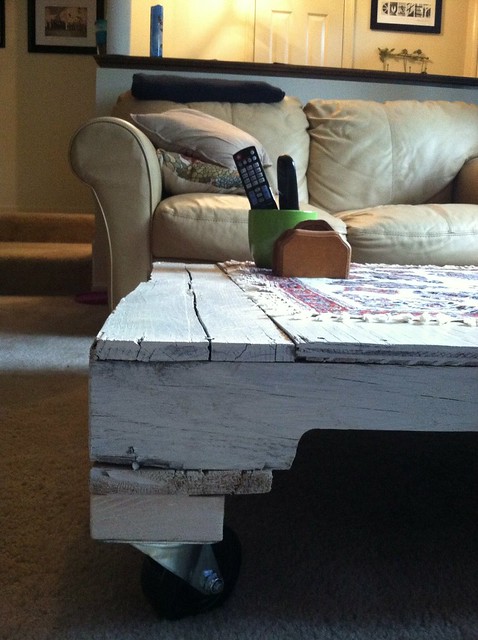
It's definitely not perfect - it could use more sanding as there are some rough parts - but we are happy with it :).
sc
I love it!!
ReplyDeleteGood job Kyle and Sheena! I can't wait to rest my feet on it.
ReplyDelete